
This is a group of Digital Color images (Adobe Photoshop and Wacom tablet were used) showing WW2 Greek Army Infantry Platoon members in action.
The following twenty eight (28) images totally, were developed in two sets, each one including fourteen (14) images.
The following twenty eight (28) images totally, were developed in two sets, each one including fourteen (14) images.
IMPORTANT NOTICE:
ALL of these images are subject to copyright regardless if they bear watermark or not.
ALL of these images are subject to copyright regardless if they bear watermark or not.
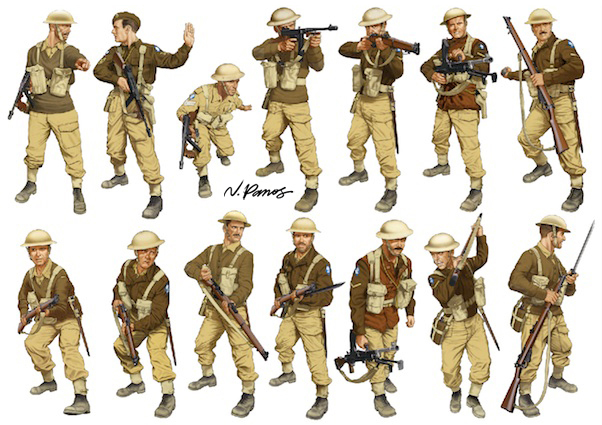
Set One depicts platoon leaders and men dressed in standard Greek Army Uniforms (M1938) and equipment as in early WW2 (1940-1941), while in Set Two, shown with motley 'british' equipment as in late WW2 (1943-1944) period

Set One:
1, 2 Squad Leaders, Sergeants / 3, 4 Assistant Squad Leaders, Corporals / 5 Lance Corporal throwing a hand granade / 5 Lance Corporal / 7 Lance Corporal with granade launcher.
8, 9, 10, 11 Infantry Privates / 12 Infantry Private with ammunition box / 13, 14 Lance Corporals, Machine Gunners.
Set Two:
1, 2 Squad Leaders, Sergeants / 3, 4 Assistant Squad Leaders, Corporals / 5 Lance Corporal / 6 Lance Corporal Machine Gunner / Lance Corporal throwing a hand granade.
8, 9, 10, 11 Infantry Privates / 12 Lance Corporal Machine Gunner / 13 Lance Corporal / 14 Infantry Private.
1, 2 Squad Leaders, Sergeants / 3, 4 Assistant Squad Leaders, Corporals / 5 Lance Corporal / 6 Lance Corporal Machine Gunner / Lance Corporal throwing a hand granade.
8, 9, 10, 11 Infantry Privates / 12 Lance Corporal Machine Gunner / 13 Lance Corporal / 14 Infantry Private.

Step-By-Step Imaging Process #1:
After the uniform and equipment were obteined, it's time for the photo-shooting as posture reference.

Step-By-Step Imaging Process #2:
The desaturated, subdued or grey-scale photo-image is placed on grey background, having the opacity changed, will be used for tracing the image freehand line art.
The desaturated, subdued or grey-scale photo-image is placed on grey background, having the opacity changed, will be used for tracing the image freehand line art.

Step-By-Step Imaging Process #3:
The image line art.
The image line art.

Step-By-Step Imaging Process #4:
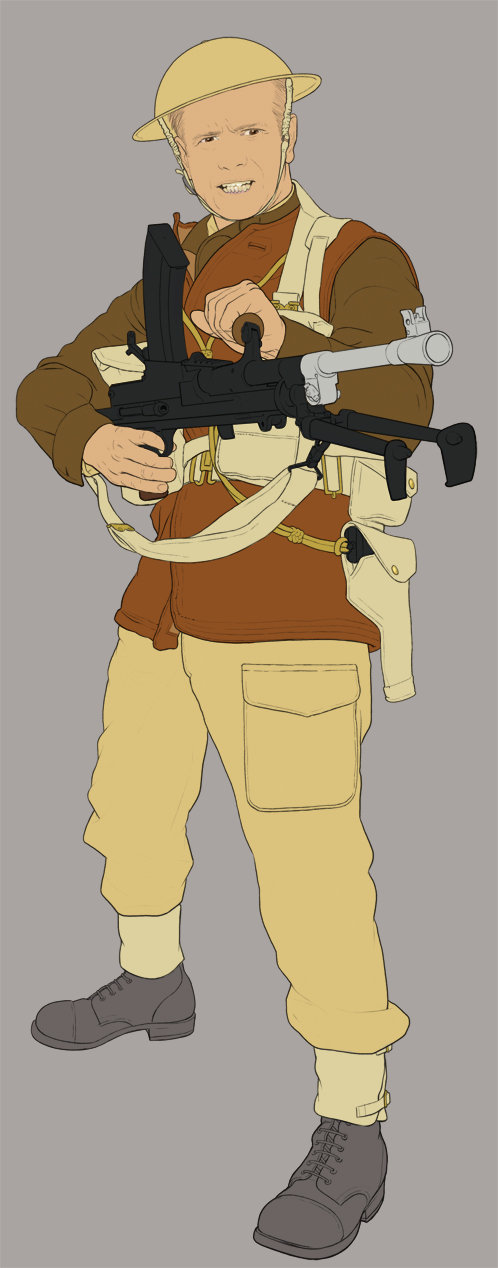
Basic color fields applied.
Basic color fields applied.

Step-By-Step Imaging Process #5:
Shading applied.
Shading applied.
Step-By-Step Imaging Process #6:
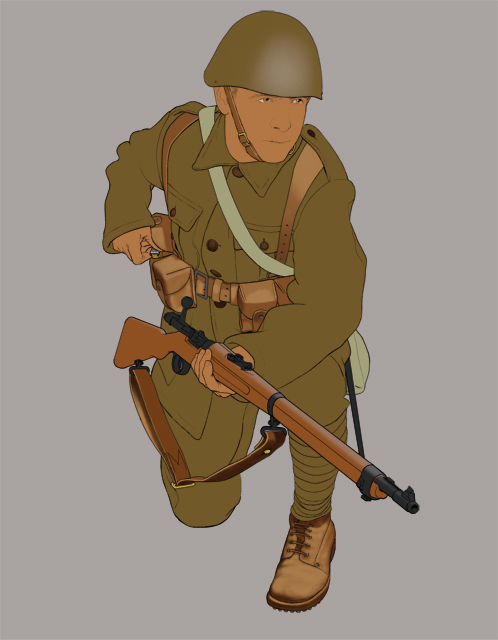
Lighting & shading effects applied.
Lighting & shading effects applied.

Step-By-Step Imaging Process #7:
Lighting & shading effects applied on weapon, flesh and leather equipment.
Lighting & shading effects applied on weapon, flesh and leather equipment.

Step-By-Step Imaging Process #8:
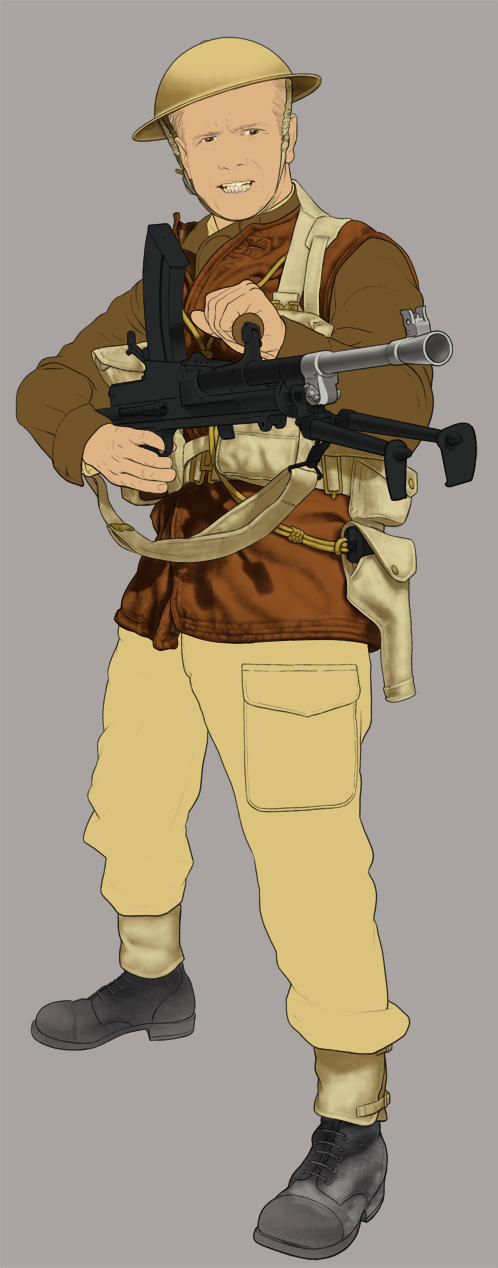
Lighting & shading effects applied on clothing.
Lighting & shading effects applied on clothing.

Step-By-Step Imaging Process #9:
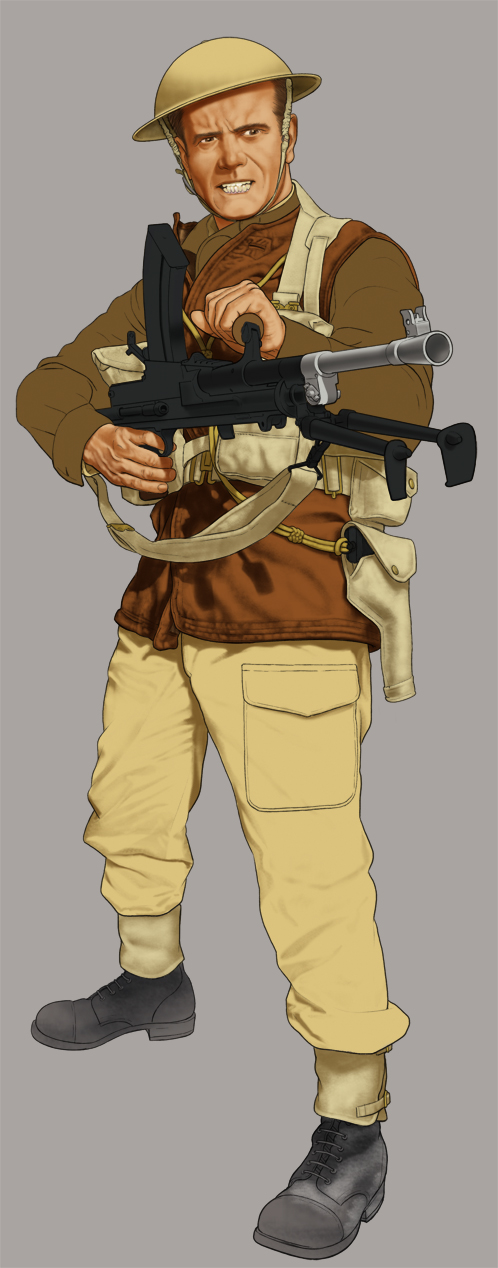
Hard shading effects applied.
Hard shading effects applied.


Face Step-By-Step, Close-Up 1, the flesh high-lights.

Face Step-By-Step, Close-Up 2
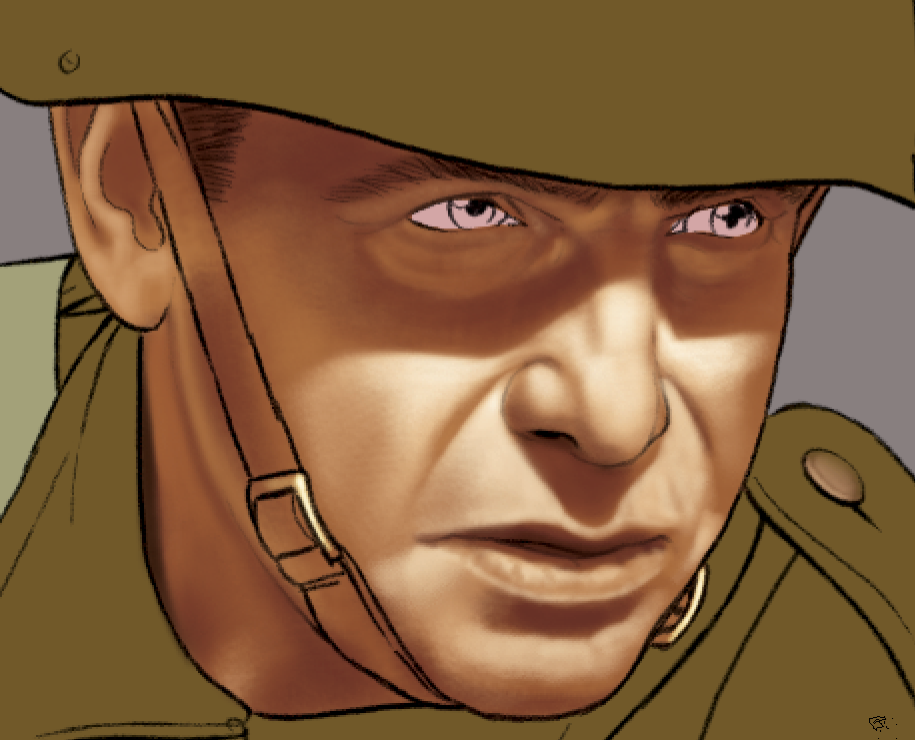
Face Step-By-Step, Close-Up 3, the shadows and the light reflections.
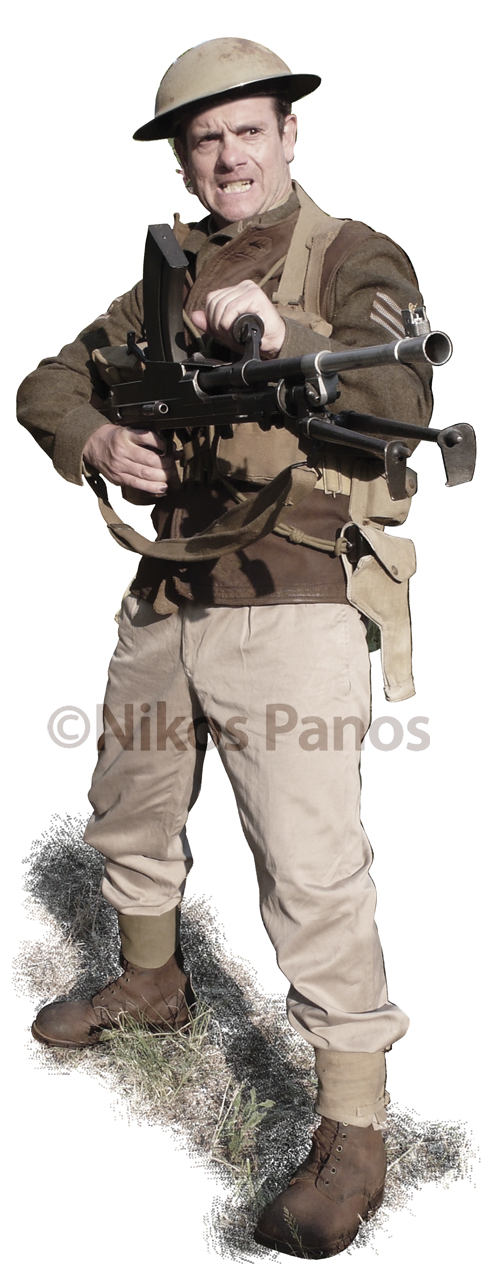
Step-By-Step Imaging Process #1:
After the uniform and equipment were obteined, it's time for the photo-shooting as posture reference.
After the uniform and equipment were obteined, it's time for the photo-shooting as posture reference.

Step-By-Step Imaging Process #2:
The desaturated, subdued or grey-scale photo-image is placed on grey background, having the opacity changed, will be used for tracing the image freehand line art.
The desaturated, subdued or grey-scale photo-image is placed on grey background, having the opacity changed, will be used for tracing the image freehand line art.

Step-By-Step Imaging Process #3:
The image line art.
Step-By-Step Imaging Process #4:
Basic color fields applied.
Step-By-Step Imaging Process #5:
Shading applied.

Step-By-Step Imaging Process #6:
Lighting & shading effects applied
Step-By-Step Imaging Process #7:
Lighting & shading effects applied on weapon, flesh and leath

Step-By-Step Imaging Process #8:
Lighting & shading effects applied on clothing.

Step-By-Step Imaging Process #9:
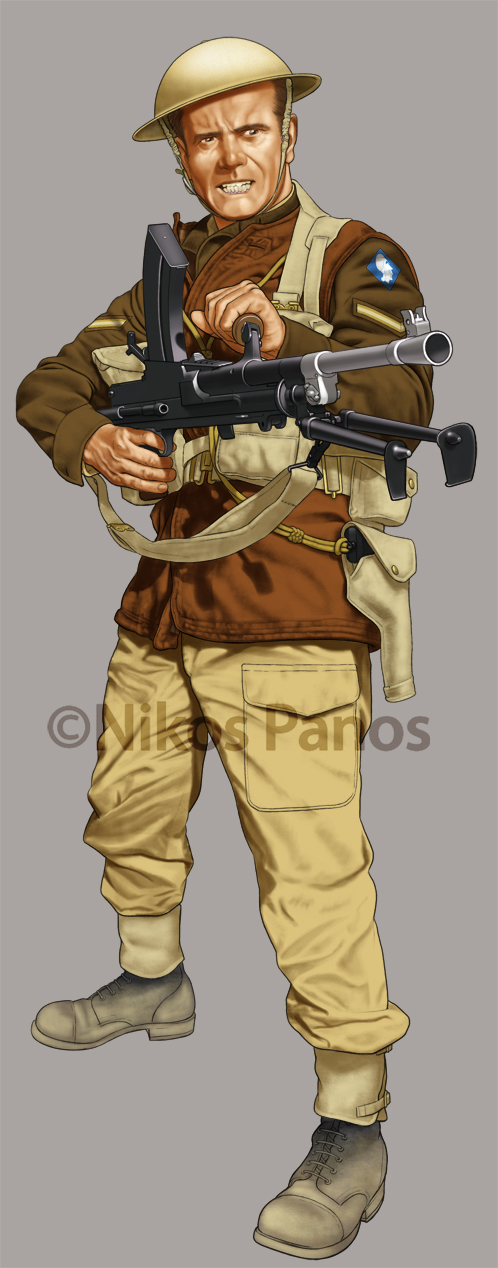
Rank chevrons and unit badge added. Hard shading effects applied.
Thank you!

